Monday, December 20, 2010

East Midlands Bobbin Lace

The next post about le frock takes a little bit of history to explain. My beau was born and raised in Nottingham. For my American audience: Yes - Nottingham is a REAL place that REALLY exists! And yes there REALLY is a Sherwood Forest! And yes there REALLY was Robin Hood and Maid Marion and even Frier Tuck. The American that I was B.B. ("Before Beau") considered London, Brighton, Manchester and Liverpool and among the 10 or so real places in England and chalked the rest up to places of fables and fairy tales - it's true! Thank you Beau for enlightening me about the Greatness of Great Briton and the Kingdomness of the United Kingdom. Moving on...

The city of Nottingham (yes it's a CITY!) in in the county of Nottinghamshire (I couldn't make that up either!) in the region of the East Midlands (because it's in the MIDDLE of England on the EAST side - seriously!). They used to make lace in the East Midlands during the ye olde days of the lacemaking and more specifically, the county of Nottinghamshire is famous in the history of lacemaking. There are many technics to make lace by hand (back then of course lace had to be made by hand) and the method that was used in the East Midlands was bobbin lace making. This made Nottinghamshire famous! (& Robin Hood too of course...)

Handmade bobbin lace isn't a big industry anymore in the East Midlands anymore, although there are people keeping this craft alive as a hobby. These days most lace is made on machines in factories, and much of the high end luxury lace still comes out of France, actually the NORTH of FRANCE (You can be proud Maman!) as well as Italy and a little bit in Japan.

The reason I am giving a history lesson is that I got my hands on some vintage East Midlands bobbin lace from, that's right, Nottingham, and used it on my wedding dress as a little "wink" to Beau. Before posting the photos of the lace I used on my dress, I want to post some photos of the making of bobbin lace so that we can truly appreciate how wonderful it is to encounter even 1 meter of vintage hand made bobbin lace. Seriously guys, this stuff is precious, people spend hours to advance just a few centimeters. I am so grateful that there are still people today practicing this method so that we have digital photos to help us appreciate what it used to be like to make fine clothing. I am so passionate about keeping these artisan crafts alive!


Isn't that incredible?!?! And now for the photos pertaining to crafting my wedding dress:

Above is a scan of a little piece of the lace that I used. This is the original lace which is as you can see quite discolored so I decided to dye in a shade of taupe to give it a more uniform color.
Here is a photo of when I was working on the bodice of the dress. You can see that I've applied the now taupe lace on the waistband on the left side already and then dressed it up a littlebit with some silver beads. I embroidered the borders of the waistband with just a simple chainstich in silver thread because it mimics nicely the oval shapes in the lace and makes it stand out more.


And NOW for the photos of this waistband from our wedding day by Studio Mathewes:
I hesitated about asking Jocelyn, photographer extraordinaire, to pretty please take photos of the details of my dress and I'm so happy that ultimately I did! The photos are so nice and really give value all of the little sentimental things on this dress that became my labor of love for the year that I worked on it. I hope that these photos, the dress, the story of it outlive Beau and Me.
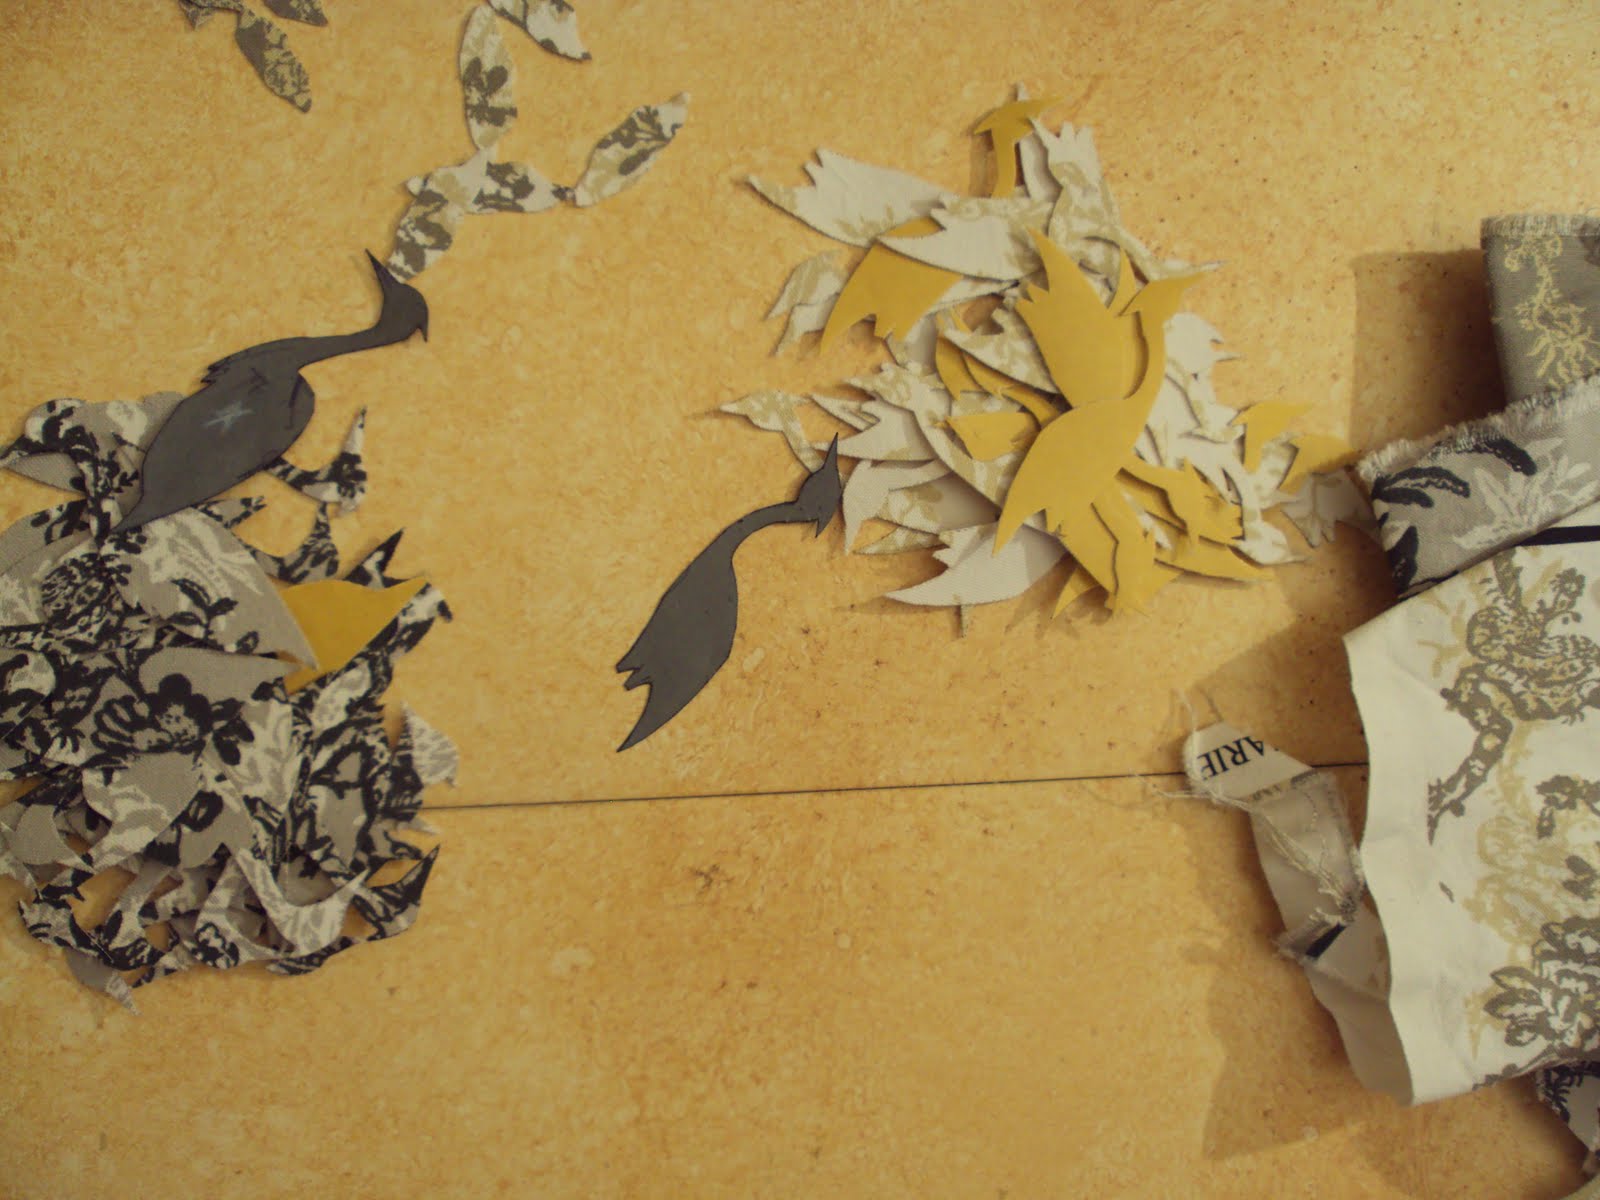
Isn't this image great? The last few hours B.W.B (Before Wedding Band)! By the way I have a quite a fetish about this wallpaper in the background. It's metallic gold and silver stripes with sort of a white gauche finish that form the damask shapes on top so that the metallic shine shows through a bit...I just can't get enough of it! I think the next time I go back to the house I'm going to photograph just the wallpaper and use it for arts and crafts (JD&J - you've been warned!)

Stay tuned for next week's installment of more wedding dress details - bear with me for a few more posts and then I'll put some photos of MOI in the thing!

Wednesday, December 8, 2010

Toile de Joy

When I admit that I made my wedding dress from the curtains of my bachelorette apartment, people usually wrinkle their nose and furrow their brow in an effort to comprehend, why on earth, out of all of the fabrics available to me in Paris, especially that I live down the street from the world's best fabric district, would I make my wedding dress out of old curtains?!?!

I made those curtains for that little apartment in the first place because I loved the fabric, and so when I moved in with Beau into his modern man style apartment, I was sad that this fabric no longer had a place in my life! Truth be told, I've made many day dresses out of old curtains and tablecloths, so I was happy to revisit this particular curtain fabric for my wedding dress - and what a fabulous destiny for bachelorette curtains! In French, this kind of fabric is called "Toile de Jouy", and traditionally features scenes of country life from fishing to frolicking to little courtship scenarios. I call the fabric that I used for my wedding dress "Toile de Joy" because of all of the fuzzy memories that it recalls for me!

I figure the best proof that this fabric used to actually be curtains is to feature some photos of the infamous bachelorette apartment! While pulling these out of the archives, I realized that I used to do SO MUCH Crafting and recuperating! Just in these photos, the "chandelier" I made out of yogurt jars and christmas lights, the "wall art" is old family photos taped behind a window pane that I found in the street, the slip cover for the couch is fabric that I dyed beige to cover the cheapest available ikea sofa, the side table and lamp I found in the street, along with that chartreuse coffee table and those chairs that my sweet brother is sitting on... I think I furnished and decorated that entire apartment for less than 300 euros. I had just got my very first fashion job, I was earning the minimum wage and I was SOOOO HAPPY to be moving out of the various crummy accommodations that I had been in for so long and into my very own apartment... The nostalgia!

My sweet brother was studying for a semester at La Sorbonne and slept in a sleeping bag on my hardwood floor every night! He is such a trooper! Between the both of us we had some of the most hysterical moments on a super tight budget. Like the time we took a trip to Sweden in the Winter because the flights were cheap (go figure!), stayed in a youth hostel that used to be a prison (our room was an old cell with bunk-beds!) and had no money to actually do anything (like have a warm cup of tea) or go anywhere (like to a museum!), so we spent the entire time outside!!! Those were the days, but I'm also happy that these are the days now too!
And now for a few stunning photos from Studio Mathewes:
I re-embroidered over the leaves and trees printed on the fabric in silver thread to make it more special.

& here's one of me and my Matron of Honor next to each other in our fancy dresses with our fancy purses.


Monday, November 22, 2010

Le Frock

Let us commence the posting on my most favorite crafts project to date: my wedding dress.

I was racking my brain trying to think about how to do this, since there are so many little sentimental details on this dress and so many beautiful photos taken by the insanely talented Jocelyn of studio mathewes.

Each little thing merits a post all of their own, so what I'll do today is post the overall look of the dress and then get into some of the details over the next few posts and finish the blog series with a post of me in the frock itself.

So here for your viewing pleasure are some drop dress gorgeous shots of the dress empty all on it's own courtesy of studio mathewes. If you are planning a wedding, need some portraits, want to take some shots for the holidays, you will not regret giving Jocelyn a call!


Monday, November 8, 2010

Nan being gorgeous, again!

How honored did I feel that Nan wore her corsage to my wedding? Here's Nan in her glory, life of the party as usual!


Friday, November 5, 2010

Charmed Corsages

Since Nan is so fabulous, I decided that I want to do a blog post all about her! So before I post recent photos of Nan looking gorgeous with my commentaries about her gorgeousness, I want to post some little brooches that I made from her wedding dress scraps. The leaf is made from the satin part, the flower is made from the lace part and a little button from the cuffs ties it all together on a simple brooch pin. This project costs literally less than a dollar but the sentimental value is huge! Stay tuned for photos of Nan wearing her charmed corsage!


Wednesday, October 27, 2010

La Piece de Resistance!

I'll get right into it with this post, but you'll have to excuse the mess in the house in the background of the photos!

Here's a funky little jacket adapted from the satin overcoat coat/train part of Nan's wedding dress. I shortened the sleeves to a 3/4 length and added a cuff slit, let out the back darts (how tiny was Nan?!?!?!), hand appliqued lace from her dress onto the back panel, cut off the train and with the new hemline, formed a sort of bustle at the back complete with a rosette made from lace of her veil.

This jacket is now wrapped up in a closet in the States, waiting for someone to take out for a spin! Nan?!?!? Stay tuned to the blog for the final post featuring crafts made from Nan's wedding dress including a photo of Nan herself wearing a creation crafted from her dress!


Monday, October 25, 2010

Nan's Pillow

Second up in the series of crafts made from Nan's Wedding dress is this pillow. I made the pillow from the satin fabric used on the over jacket part and the lace comes from the under dress part. I cut out the lace motifs and stitched them by hand on the front side of the pillow before sewing it up on the machine.

Because of it's age (no offense nan!) the lace is quite fragile, but when stitched onto the satin it does provide quite a bit more stability. When I gave this pillow to Nan I told her that it's in good enough shape to leave on on the armchair in her parlor, but knowing Nan, it's probably wrapped up carefully in a closet somewhere... But I can't say anything about that since it's the good care that she takes of her things that makes it possible to use her wedding dress over fifty years later!

Friday, October 22, 2010

Funny Bunny

Up first in the series of things I made with Nan's dress are these bunny ears for my dear friend Ashley. How do I start a blog post about Ashley? Ashley got married just the weekend before I did, at her family's resort, Vichy Springs in Ukiah California, so we spent much of the summer helping each other out with wedding stuff. Actually, it's more like Ashley was helping me out with my wedding planning (remember this post?) and I was ooing and aahing over her wedding planning!

Ashley and I first met in Paris during a study abroad and got along like a house on fire. We both went back to our universities to finish up our degrees and found ourselves both transported a few years later back to Paris. Ashley is a talented designer with a heart of solid gold and a fashion sense of diamond encrusted platinum! So when we were organizing a bridal luncheon for her at the Plaza Athénée this summer, I couldn't resist making some trendy bunny ears for the bride-to-be.

A cheap-o headband, some bias binding, a little lace and glue were all that it took to make them - way cheaper than the ones currently being sold out there in fashion land! (We comnpleted the look with cheesy white heart sunglasses for the bride of course...) So here are a few shots of Ashley wearing Nan's wedding dress on her head for her own pre-wedding festivities -Congrats to Ashley and JM!!!

Tuesday, October 12, 2010

Nan's Dress

As you've learned in the last post, Nan married husband Malone in a Catholic Ceremony and OVER FIFTY YEARS later, she's very kindly passed me her wedding dress to reuse & recycle and to give birth to little craft babies. Before I reveal the crafting projects that this gown has become, here is a little teaser photo of her dress!


Her dress was a very pretty strapless number completely made of Chantilly lace over a satin under structure. The skirt part alone has three tiers of Chantilly lace! It was worn with a long sleeved satin overcoat with the most amazing cathedral length satin train and completed with Chantilly lace veil. (Take a peek at Nan in her gorgeous full ensemble in the previous post.)

You can see on this photo where I've started cutting away some of the lace on one of the tiers of this dress and how the lining is already cut to pieces. The satin overcoat train and lace veil are over there on the hanger... Stay tuned y'all, my next post is a craft made from these pieces!

Monday, October 11, 2010

Nan Being Gorgeous

Since wedding fever has officially taken over the Nattie-Beau houshold, I want to share with you all a very special wedding story before we get into the details of all of the craftiness of our own party.

Nan Malone married Husband Malone in a Catholic Ceremony quite a few years ago (photo Evidence of the couple in their gorgeous gorgeousness).


Nan very selflessly gave me the gift of her wedding dress for my own selfish crafting pleasure. Stay tuned for the results of what this dress has become!

Willkommen Madlen!

Little Madlen was born this summer to the most wonderful Mutter and Vater, our wonderful German friends living in NYC. Beau and I have had the priveledg of meeting little Madlen twice already, the first time during our wedding weekend and again a few weeks ago in the great city of New York.

Segenswünsche to this new family and may you keep each other warm with love during your first winter together! Beau and I are looking forward to seeing you all again together soon!

Wednesday, September 29, 2010

Welcome Baby Mahaut!!

A little bit late with posting this as little Mahaut was born this summer, but the welcome is none less enthusiastic!

Here's to wishing Mauhaut a wonderful first year in Paris and to keeping toasty in the calins of the most wonderful Maman and Papa!


Tuesday, July 27, 2010

Under Wraps!

Things have been quiet around the blog for a long time - and not for lack of crafting but for a surplus of it!!!

80% of my most recent crafting has been wedding related and of that 80% about half of my crafting time has been taken up by the making of my wedding dress. Believe me I am sitting on my hands to not blog about crafting this dress! But there is some little shred of a traditional bride still left in me that thinks that the dress will have a better impact if it's seen for the first time on the actual wedding day, so for right now it's still under wraps.

And since yesterday I've made a garment bag for it - it actually is: under wraps! My wonderful friend Ashley (featured in my post about making the wedding invites) kindly gave me a Posh Roberto Cavalli Gown Bag which I was intending to use, but as my dress took shape I began to realize that it wasn't going to work, due to the fact that I am a bit of a freak of nature. I am six foot two inches tall. One meter eighty seven of crafting craftiness. My dress has a very slight train on it making it over 7 feet long. I needed to make a custom garment bag to take this little monster on the airplane without totally crushing it. Give me a reason to make an heirloom quality ANYTHING and I welcome it with open arms - including garment bags!

This took only 3 hours to make, from start to finish. I bought the fabric for very cheap at the Marche St Pierre in my neighborhood. All of the sales are going on right now at the clothing and home furnishing shops all around Paris and so it's that time of year again when the fabric stores bring out their "coupons" or remnants in English. I folded the fabric in half, traced an Ikea garment bag onto it and then cut that puppy out. The zipper is attached with a piece of bias binding so there wasn't even any fancy zipper mounting to do and I used a little bit of bias binding to sew it together around the edges so there wasn't even any seam trimming to do. It's that easy.

...and then I embroidered my first initial on the front of the bag because
I
J U S T
C O U L D N ' T
R E S I S T
!!!
(This is only the SECOND time in my entire LIFE that I've ever cross stitched anything for MYSELF! You know that this is a big day!!!) The colors that I used on this embroidery as well as the silver thread allude to the dress inside but that's all I'm saying for now! Check back on the blog in about a couple of months for the crafty details of the actual gown. Until then, feast your eyes on this garment bag!


Wednesday, April 28, 2010

When the Cat's away...

.. mice get out the arts and crafts!

While Beau's been away these past few weeks, I've got the house in a state of squalor that only a crafter could love! I'm also reminded of the first time that Beau went away after we moved in together. I pulled his favorite jeans from his closet for a weekend of embroidery and quietly slipped them back in his closet. Boy was he surprised to pull them out one day to find them "enhanced" so to speak.

It only dawned on me after the fact that it might have been better to ASK him if I could meddle in his stuff, but fortunately for the both of us, he loved the result!

Here are some shots of the embroidery, which is cross-stitch of course... The first initial of his name is "I" and the Lion is for England, where he was born.


Saturday, April 24, 2010

Happy Birthday Pierre!

What could I possibly love more than getting a care package? --- Making them!

My wonderful brother recently moved to the Republic of South Africa, so I took his upcoming birthday as an opportunity to assemble the my very first Paris - Cape Town parcel of love! As I've got word that the parcel arrived safely, and today is his birthday, here's a peek for you all of some of the crafty things inside.

To make his birthday card, I embroidered (of course!) his name, cut a hole in the card stock, burned the edges of the holes (in efforts to make the imperfect hole look intentional!) and glued the embroidery behind.

Pierre is an outdoorsy, nature loving, x-treme sporting, diving with the sharks and hiking to the sky type of radically awesome person - so being the practical sister I am I personalized a stainless steel water bottle for him with his initials to take along on his adventures. The thing is that NOTHING sticks to stainless steel! After much research and development, trial and error, I'm happy to report to you all that nail polish does in fact stick to stainless steel... at least for now!

My brother, I'm sending you boat loads of sisterly love across the miles for your 22nd birthday! You are a stupendous man and I am REALLY looking forward to our hiking camping hanging safari adventure this summer together!


Wednesday, April 14, 2010

Sparkling Sampler

As you may or may not know, I've been taking a class in hand embroidery on Wednesday nights. The second semester has been dedicated to the luneville technique, which is a french technique from applying beads and sequins using a special little pointly needle-like hook called "le crochet de luneville".

The interesting thing about this technique is that you actually work on the back side of the fabric, applying the beads and sequins from underneath. Here's a little glimpse of the very first luneville project I did, a "sampler" of sorts using various beads, sequins and charms.

Full view of the sampler in progress, remember that this is the back side.
Zoom view: the tool is the crochet de luneville and the sequins that are on top are the ones being applied underneath.
Finally Finished - this is the front side
Zoom of Top Portion
Zoom of Bottom Portion


Monday, April 5, 2010

Getting By...


...with a little help from my friends!

I've got a wonderful friend named Ashley. Not only is she wonderful but she's very talented. And not only is she very talented, she's got a heart of Solid Plantimum 950...and calls me her friend also! (I've blogged about Ashley before - we've been friends since the days of Shoulder Garden...)

My beau was down at his parents one weekend to leave me to what I usually do in Paris on weekends by myself: make a HUGE arts & crafts apocalypse in the apartment... This time I enlisted the help of Ashley, moving only the location of the apocalypse to... her apartment!

I left Montmartre (chez moi) on Sunday afternoon and headed down to Invalides (chez elle) with a bag filled of DYI wedding supplies. The highlight of the afternoon was the both of us at the dining room table cutting out the fabric elements for our wedding invitations (Clarification: Beau & I, not Ashley & I), I on Bird Duty and Ashley on Tree Duty. Here are some photos of Ashley's skilled hands at work. If the fabric looks familiar, it's leftover from the pillows that I made for our apartment which happened to be the featured subject of my very first blog post! Keep checking back on the blog for the results of the assembled invitations!

And a big MERCI to Ashley for that wonderful afternoon together!You are a bijou by dear friend!